It reads the shape of faint, lifted blacks and makes them deeper toward the center · softer toward the edges. Just as layered pencil strokes build up form in a plaster-cast drawing, flat blacks gain mass and dimension. It's a new way of rendering blacks created by photoKam Radar.
When to use it
When, after applying a film-like preset or brightening a photo, hair and black clothes look flat, like gray panels — photos that look even flatter when you simply deepen them with black depth.
When you want to give dimension to dark masses such as a hair bun, tied-up hair, coats and jackets.
When you want solid, sculpted blacks in black-and-white or dark-toned photos.
How is it different?
Black depth in the Deep Blacks panel deepens dark pixels equally, looking only at their brightness. So in a faint black mass, the center and the edges get darker together, and it stays a flat panel.
Special Black looks at the shape of the mass.
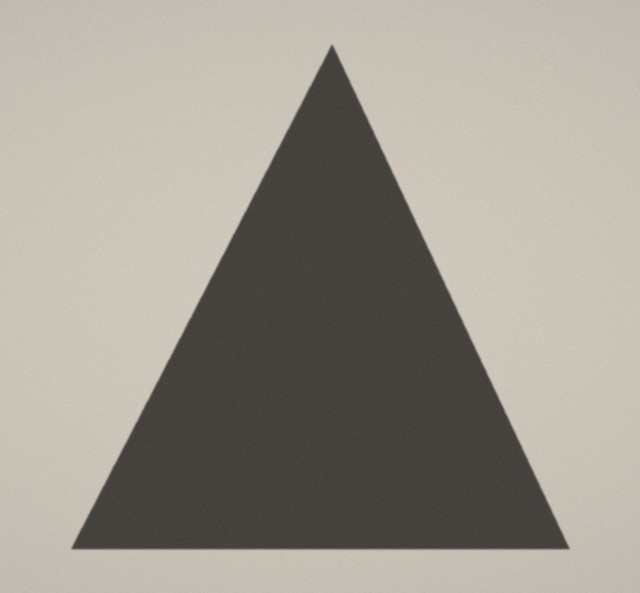
Faint blacks
Because of a filter or the lighting, the blacks are lifted to a flat gray.
Read the shape
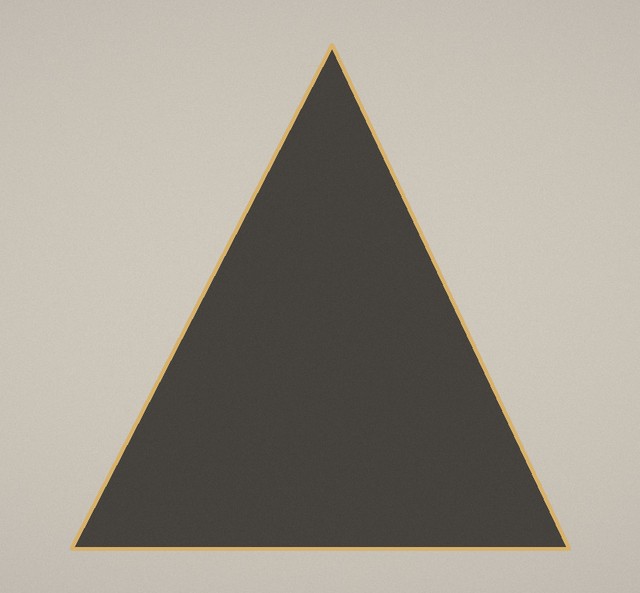
It finds the shape of the dark masses in the photo.
Measure the depth
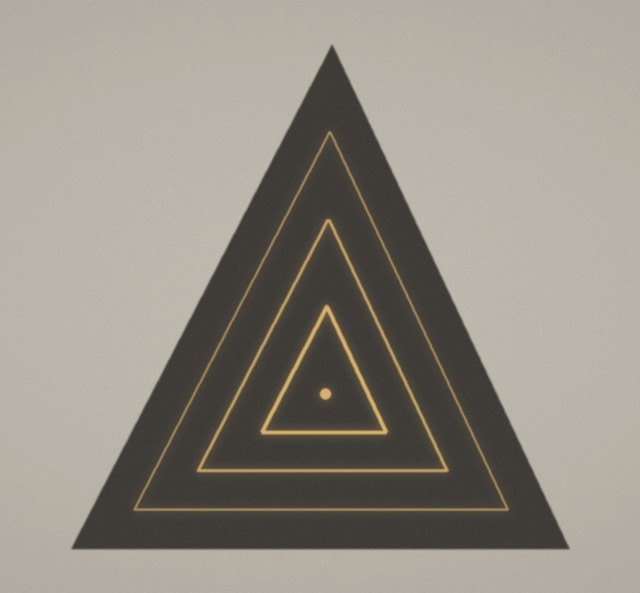
The farther from the edge, the deeper it's considered. For a triangle, the smaller triangles shrinking inward parallel to the edges are lines of equal depth, and the center is the deepest.
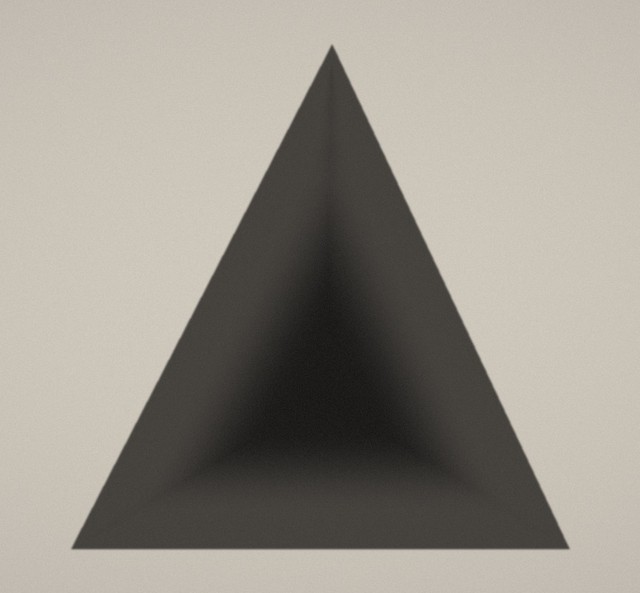
Deeper toward the center
Deep black in the center, softer toward the edges. The flat triangle looks like a pyramid seen from above.
Even while deepening, the texture is kept. The contrast between the bright strands of hair and the dark gaps is preserved, so even when applied strongly, it doesn't smear like black paint but looks like hair in deep shadow.
BeforeAfter
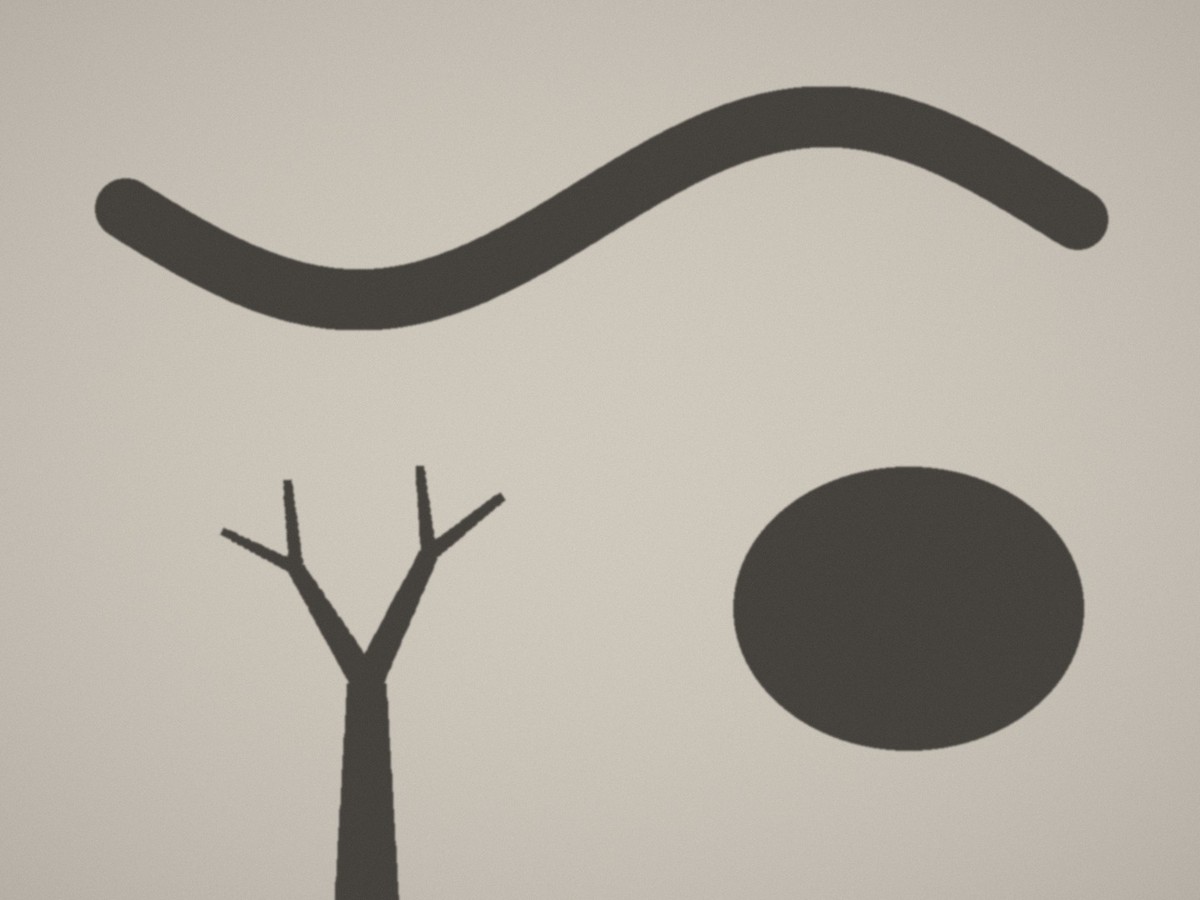
It's not just triangles. The dark areas in photos come in all shapes: bands curved like a worm, forms that split like tree branches, round masses and so on. Special Black measures depth for each shape based on the thickness of that part, so a curved band gets deeper along the center line of its body, branches along their own center lines from the thick trunk to the small twigs, and a round mass toward its center.
Style — To center · Ridges
Style
On a triangle
What it does
To center (default)
A triangle that gets darker toward the center
Deeper toward the center of the mass (for a branch, the center line of that branch). A soft sense of mass, like a drawing.
Ridges
A Y shape converging from the corners to the center
Evenly deepens the line farthest from the edges in each mass, regardless of thickness. A sharp-edged feel, like the edges of a pyramid.
Where to find it
The people in the sample photos were generated by AI.
The Special Black panel (gold pyramid icon and SPECIAL label) right below the DEEP BLACKS panel, on the Edit tab. Choose the style with To center · Ridges below the preview.
Sliders
Name
Range
Default
What it does
Style (buttons)
To center · Ridges
To center
See the "Style" table above. Changes apply immediately.
Strength
0 – 100
0
How deeply Special Black is applied. At 0 it's off.
Thickness
0 – 100
25
How wide the darkest center (or, for Ridges, that line) is. Low values make it narrow and sharp; high values deepen a wide area.
Gradation
0 – 100
70
How gradually it fades from the dark center to the edges. Low values make the surfaces break sharply like a sculpture; high values blend smoothly all the way to the edges.
Range
0 – 100
30
How much of the photo's dark side is treated as masses. Low values cover only the darkest areas (hair, black clothes); raising it adds brighter shadows step by step. Raising it never makes the effect disappear.
The live preview at the top of the panel is a pyramid on plaster-cast drawing paper. It changes immediately as you move Strength · Thickness · Gradation, so you can see in advance what shape it will take in the photo.
For how to drag sliders, double-click to return to the default, fine-tune with Shift or type numbers directly, see Editor overview.
Step by step
If needed, set the preset and blacks first
Special Black is applied after presets, LUTs, curves and the Deep Blacks panel.
Raise Strength
At about 70 to 90, check whether the centers of hair and black clothes get deeper.
Choose what it affects with Range
Keep it low if you want only the hair; raise it to include dark clothes and shadows too.
Set the character with the style and Thickness · Gradation
To center for a soft sense of mass, Ridges for sharp edges. Lower thickness · gradation for a sharp, sculpted feel; raise them for a soft drawing feel.
Compare before and after
Use Split view on the photo (or press Y) and drag the center line.
Result
BeforeAfter
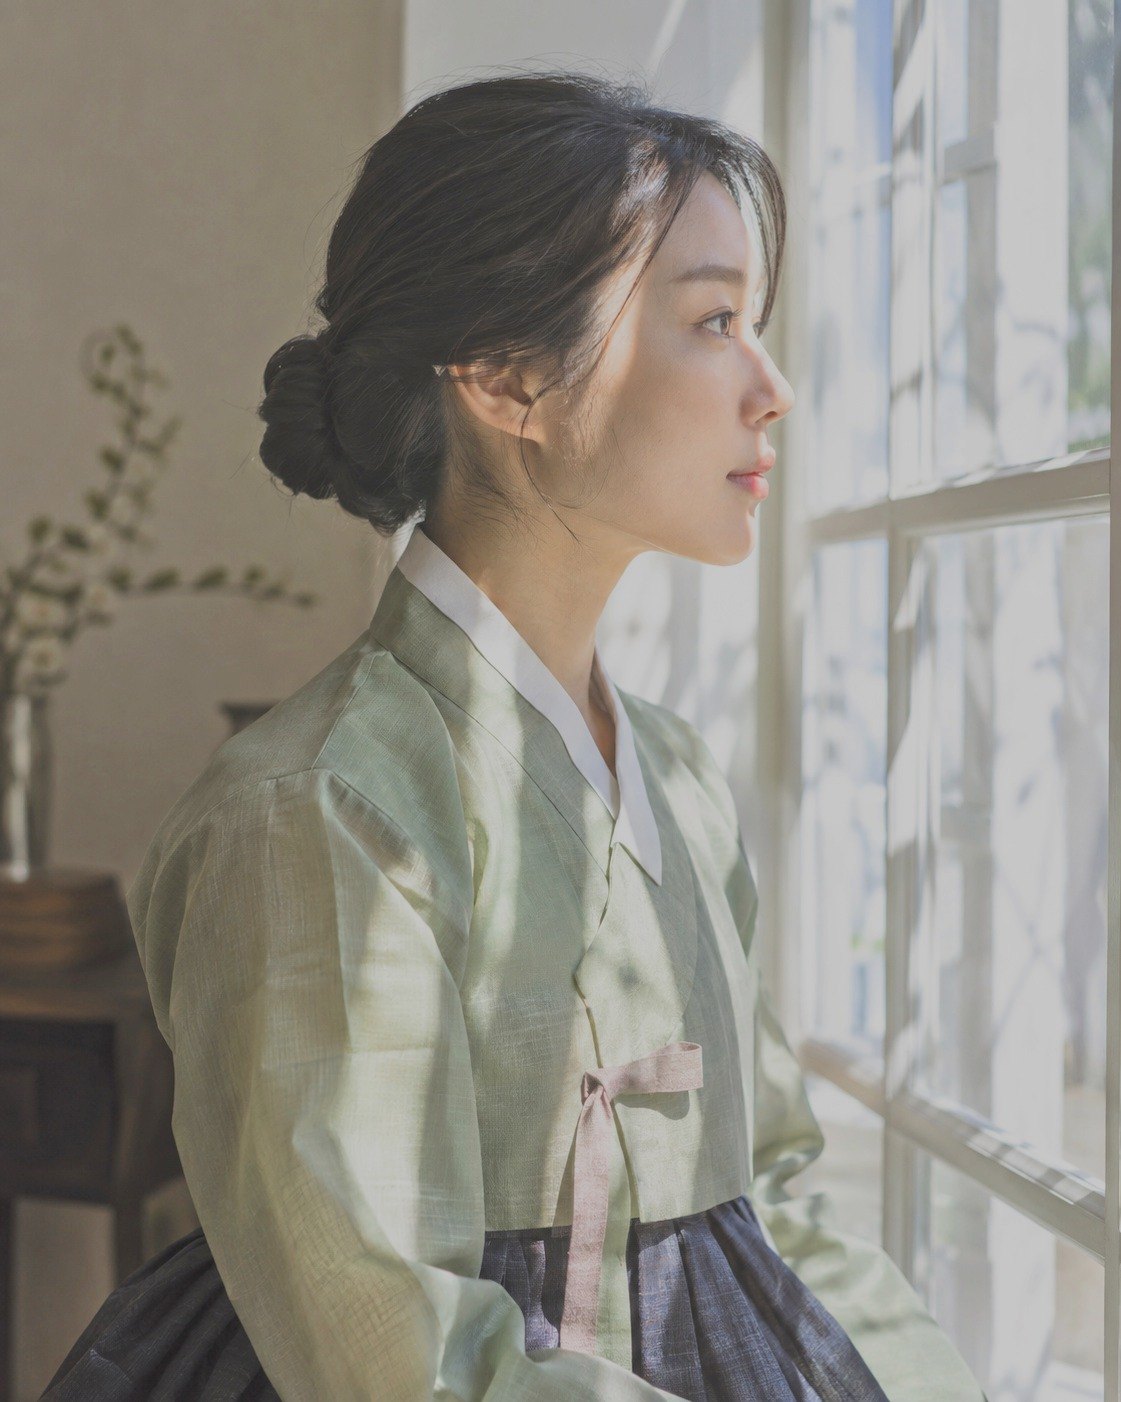
Hair that had turned gray and flat after brightening the whole photo gets deeper from the center of the crown and the bun, bringing back its sense of mass. The pleats of the navy skirt get deeper too. The strands and shine of the hair stay as they are, as do the face, the light coming through the window and the bright wall.
Settings: brightened in LIGHT with exposure +50, shadows +100, blacks +60, highlights −50, whites −20 → Special Black To center · strength 100 · thickness 35 · gradation 70 · range 70.
The people in the sample photos were generated by AI.
Good to know
Shadows on skin are left untouched. To keep shadows under the chin or on the cheeks, and the lips, from deepening like stains, the effect is reduced on skin tones. Light brown hair may therefore get a little less deep.
Photos it suits — blacks with clear masses, such as hair, black clothes, dark sculptures or buildings.
Photos it doesn't suit — thin, long dark bands, such as streaks in a misty forest or reflections on water, can get darker in the middle and look like stains. In that case, lower Range or reduce Strength.
Changing the range takes a moment (0.3 – 0.5 s) to calculate. Meanwhile the previous shape is shown until it changes to the new one. Strength · Thickness · Gradation apply immediately.
Order of application — Applied right after the Deep Blacks panel, before the vignette and grain of Effects.
Exported files, the full view and grid thumbnails look exactly as shown in the editor.
Frequently asked questions
How is it different from black depth?
Black depth looks only at brightness and deepens dark areas equally. Special Black looks at the shape of each mass and deepens only the center while softening the edges, creating dimension. You can use both together.
Does it work on thin, long shapes or branching shapes too?
Yes. It's based on the thickness of each part, so a curved band gets deeper along the center line of its body, and branches along the center line of each branch. Triangles and round masses get deeper toward the center.
Should I use To center or Ridges?
For most photos, such as hair and clothes, To center looks natural. Try Ridges when you want to sharpen subjects with clear surfaces and edges, such as buildings and sculptures.
I raised the range and even the shadows on the wall got darker.
With a wide range, brighter shadows are also treated as masses. Lowering it to around 30 leaves only the darkest areas, such as hair and black clothes.
Can I save it as a preset or copy it to other photos?
Yes. Special Black is part of the LIGHT group. Since the range is based on the dark side of each photo, it fits the dark masses of the photo you paste it to (→ Presets).
 BeforeAfter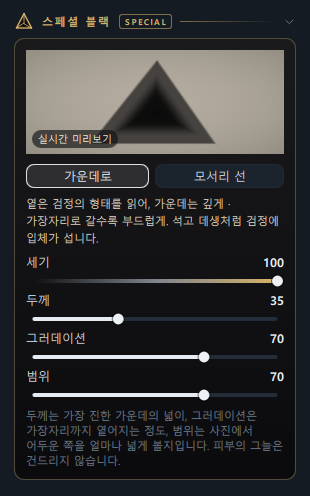
 BeforeAfter