Lens Corrections
Fix flaws caused by the lens. Remove lines that bulge out or bow inward at the center (Distortion), color fringing at the edges of the photo where red and blue drift apart (Chromatic aberration), and purple or green fringes around bright edges (Defringe purple · Defringe green).
When to use it
- When buildings, horizons or door frames shot with a wide-angle lens bulge out at the center (barrel shape), or when a telephoto shot makes them bow inward at the center (pincushion shape) — Distortion.
- When branches or window frames near the edges of the photo have a red fringe on one side and a blue fringe on the other — Chromatic aberration.
- When you shot into the light with a fast lens wide open and a purple fringe appears where a bright sky meets hair or branches — Defringe purple.
- When a lime or green fringe appears around lights or shiny metal — Defringe green.
Where to find it
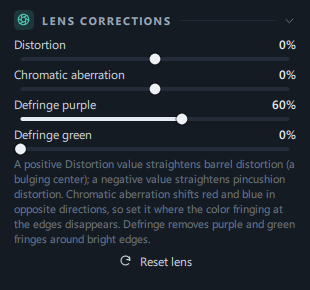
Edit tab → the LENS CORRECTIONS panel below the DETAIL panel (aperture icon). It's expanded from the start.
Step by step
Remove purple fringes
- Zoom in on the problem area
Click 100% above the photo and drag to where the bright sky meets hair or branches. Purple fringes show clearly when you zoom in.
- Raise Defringe purple
Raise it until the fringe disappears (usually 40–80%).
- If there's also a green fringe, raise Defringe green
If a lime fringe remains on the other side of the edge, adjust it the same way.
- Check the edges of purple and green objects
If purple petals or green leaves are in front of a bright sky, their edges can fade too, so raise it only as much as you need.
- Compare before and after
Turn Compare original above the photo (or \ — the backslash key; ₩ on a Korean keyboard) on and off to compare.
Straighten curved lines (Distortion)
- Find a line that should be straight
Use a straight line near the edge of the photo, such as a horizon, a corner of a building or a door frame, as your reference.
- Adjust Distortion
If the center bulges out, move it toward +; if it bows inward, toward −. Stop when the line is straight.
- Check the edges
Straightening enlarges the photo slightly, so a little of the edges is cut off. If needed, reframe with Crop.
Buildings that narrow toward the top (the tilt from shooting upward) are a perspective problem, not distortion. Use Vertical in Crop · Perspective.
Fix color fringing at the edges (Chromatic aberration)
- Zoom in to 100% on a bright edge near the edges of the photo.
- Move Chromatic aberration a little toward + and toward −. The direction that reduces the red and blue fringes is the right one.
- If a fringe of the opposite color starts to appear, you've gone too far, so back off a little.
Result
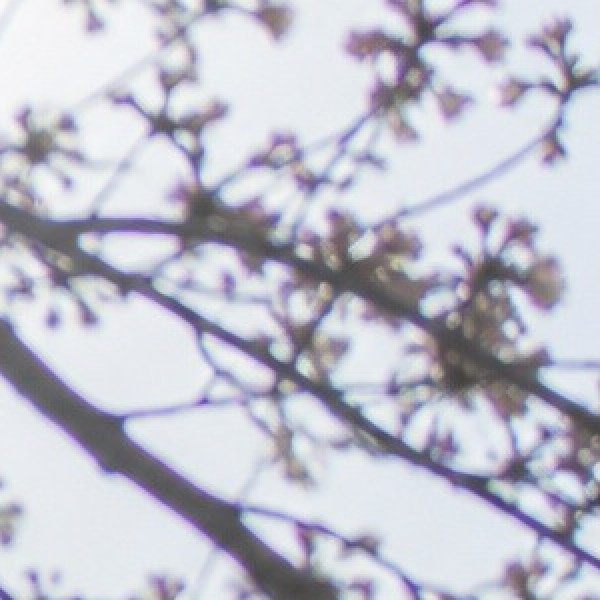
 BeforeAfter
The purple fringes where the sky meets the branches and hair disappear, while the colors of the hair and the sky stay as they were.
The people in the sample photos were generated by AI.
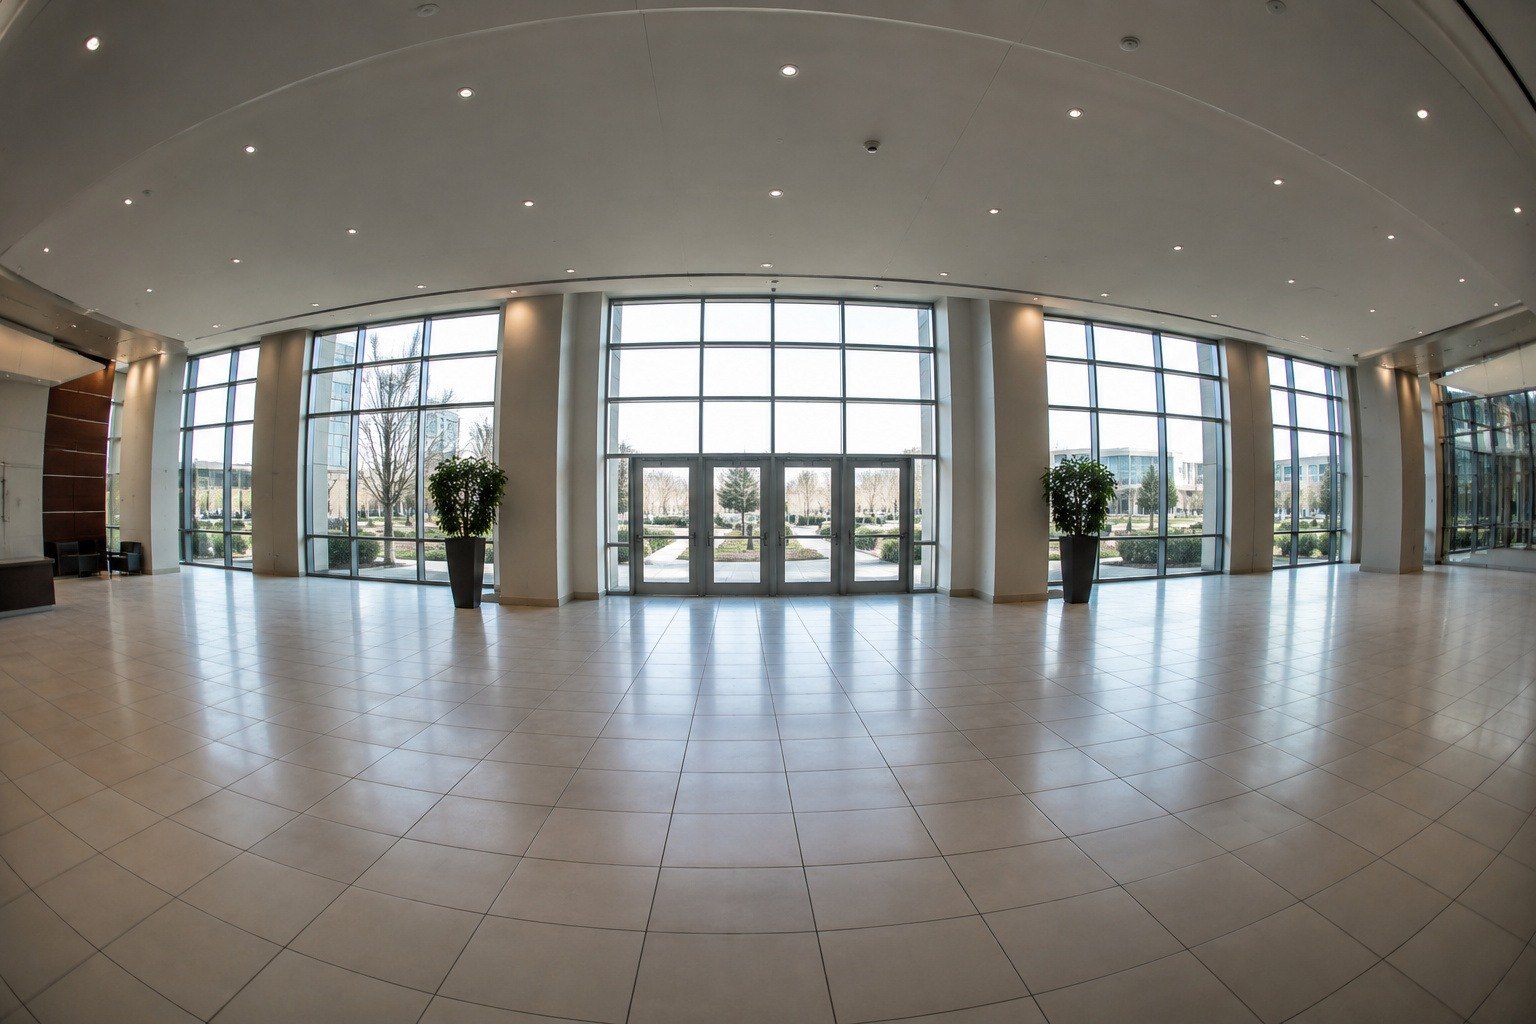
 BeforeAfter
The ceiling, floor joints and window frames that bulged out at the center are straightened. The + side straightens distortion that bulges at the center (barrel shape).
Good to know
A RAW photo opens already corrected to match the lens corrections the camera applies (darkened corners, distortion). If your camera applies lens corrections, you'll rarely need to adjust Distortion yourself.
Chromatic aberration and fringes are only a few pixels wide, so they show clearly at 100%.
The "Before" side of Split view also has lens corrections, crop and perspective applied. To see the photo before lens corrections, use Compare original (or \). Compare original shows the whole original, before cropping.
Defringing removes "that color around bright edges", so the edges of purple flowers or green leaves in front of a bright background can fade too. Colors away from edges stay as they are.
Pasting after Copy edits and your own presets leave lens corrections out, so adjust other photos taken with the same lens one by one.
Reset at the bottom of the Edit tab leaves lens corrections in place, along with crop, rotation and perspective, and resets only the rest. To clear lens corrections too, use Reset lens or Reset all in the top bar.
- Lens corrections are also reflected in the Crop view, so you can frame the shot while seeing the corrected result.
Frequently asked questions
Can't I type a number or double-click to return to 0?
The sliders in this panel are adjusted by dragging. Use Reset lens to return all four to 0 at once, or Ctrl+Z to undo one step at a time.
What's the difference between Chromatic aberration and Defringe purple?
Chromatic aberration is red and blue drifting apart more and more toward the edges of the photo, and it's fixed by nudging the colors back into line. A purple fringe is a band that forms around very bright edges anywhere in the photo, and it's removed by taking that color out. Use defringing for purple fringes that don't go away when you nudge the colors.
I raised Defringe purple to 100%, but a little fringe remains.
Wide bands a little away from the edge, or bands with very low saturation, are removed less. Try raising Defringe green as well, and for what's left, lower the Saturation of that area with a mask.
After correcting distortion, the photo got slightly bigger.
Straightening distortion leaves empty areas in the corners, so the photo is enlarged just enough to hide them.