Light
The basic panel for adjusting a photo's brightness and tonal contrast. It controls the overall brightness (Exposure), the difference between bright and dark areas (Contrast), only the bright or only the dark parts (Highlights · Shadows), and the brightest and darkest ends (Whites · Blacks).
When to use it
- When a photo is too dark or too bright overall — Exposure.
- When a photo looks flat and hazy, or on the contrary too harsh — Contrast.
- When the sky or the view through a window is blown out to white and you can't make out the clouds or the scenery — lower Highlights.
- When a face is shaded by backlight, or shaded areas look heavy — raise Shadows.
- When a photo isn't crisp and the whites are dull or the blacks look gray — Whites · Blacks.
Where to find it
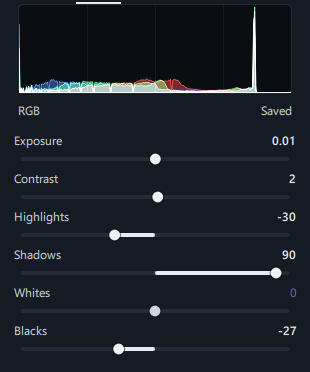
LIGHT (sun icon), the first panel at the top of the Edit tab, right below the histogram. This panel is expanded when you open the editor.
- Each mask has the same sliders (named Exposure (EV) · Contrast · Highlights · Shadows · Whites · Blacks). Use them to adjust only the sky or a face (→ Masks).
- Click Auto in the top bar and the 6 values in this panel are set to suit the photo in one step (→ Editor overview — Auto).
Step by step
The basic order (top to bottom)
- First set the overall brightness with Exposure
Drag the slider left or right until the face or main subject is at a suitable brightness. The hill in the histogram moves toward the middle.
- Make it crisper with Contrast
If the photo looks flat, start at about +10 to +30.
- Lower Highlights to bring back the sky
If the sky or the view through a window is blown out to white, lower it to −30 to −70. Stop when the shape of the clouds comes back.
- Raise Shadows to brighten the shade
Raise it until the shaded face is brighter. For backlit portraits, going above +50 is fine.
- Finish both ends with Whites · Blacks
Raising whites a little and lowering blacks a little makes the photo crisper. It's about right when the histogram just about touches both ends.
- Compare
Press Y (split view) and drag the center line to compare before and after.
Rescuing a face shaded by backlight
- First click Auto in the top bar. For photos with people, it measures face brightness and brightens the face mainly with Shadows. "· brightened shaded faces" is added to the message in the status bar.
- If it's still dark, raise Shadows further. Raising Exposure a lot blows the view through the window out to white, so raise exposure only a little.
- If the view through the window has become too bright, lower Highlights to bring it back.
Rescuing a sky blown out to white
- Lower Highlights to about −50.
- If the brightest part of the sky is still white, lower Whites a little.
- If the rest of the photo has become darker, raise Shadows a little to balance it.
- To adjust only the sky, create a sky mask with auto select → Sky in Masks, then lower Highlights in that mask.
Result
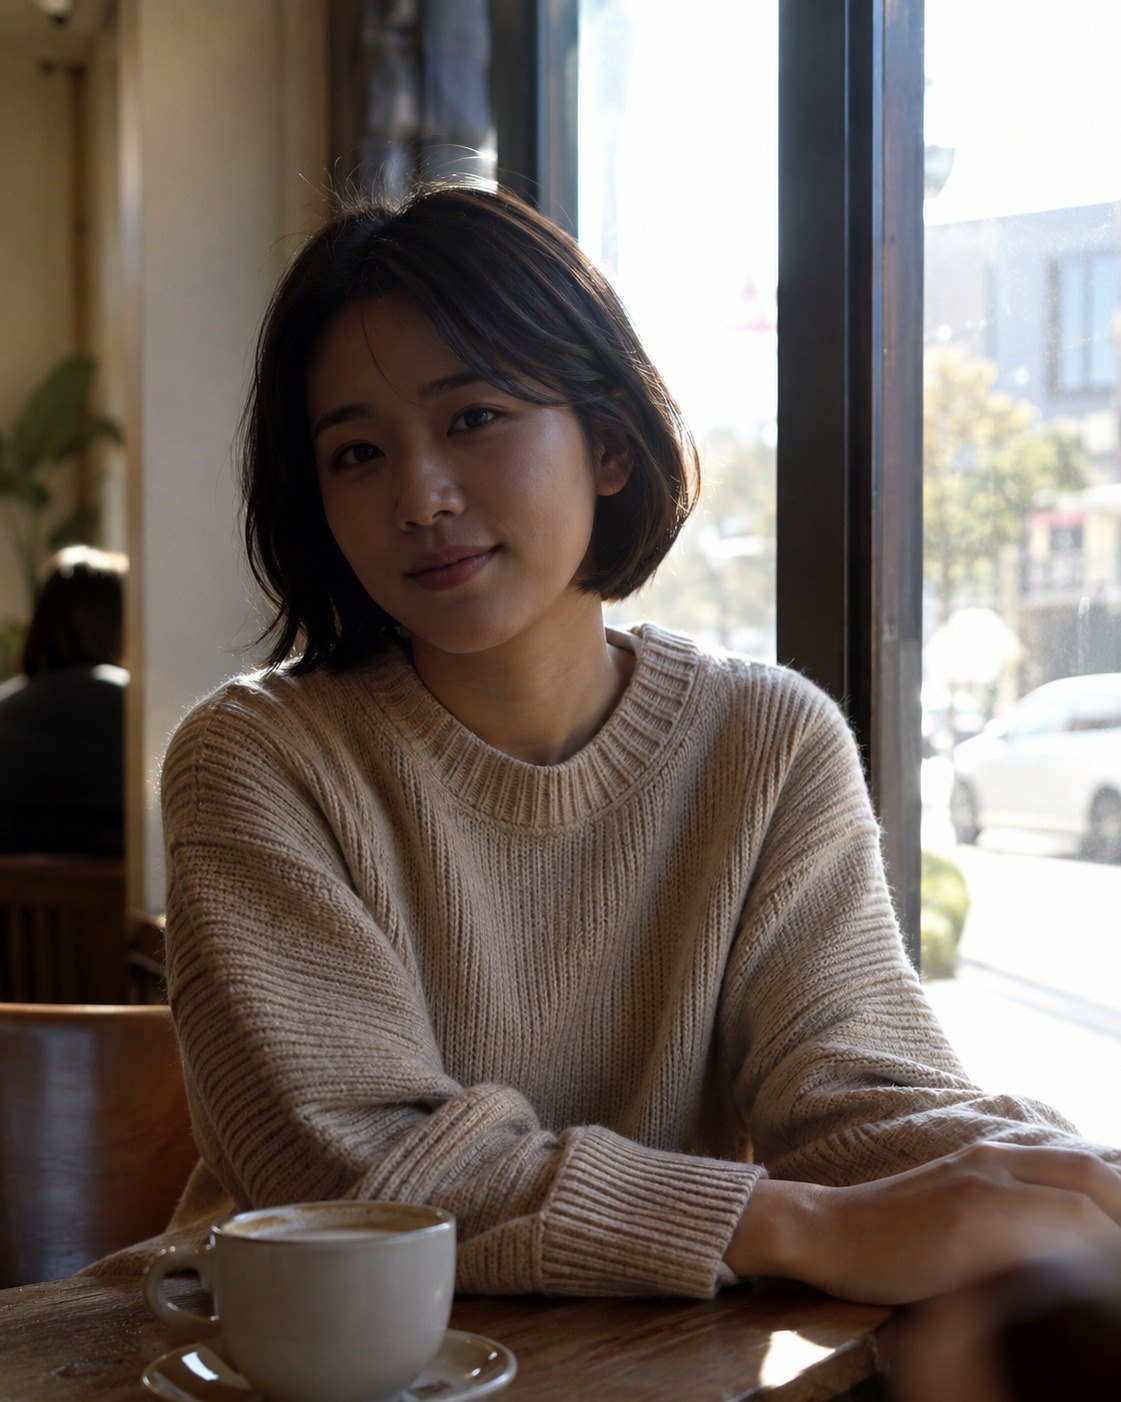
 BeforeAfter
The shaded face becomes brighter while the view through the window is kept. The face was brightened mainly with Shadows +90, and Highlights was lowered to −30 so that the view through the window wouldn't blow out to white.
The people in the sample photos were generated by AI.
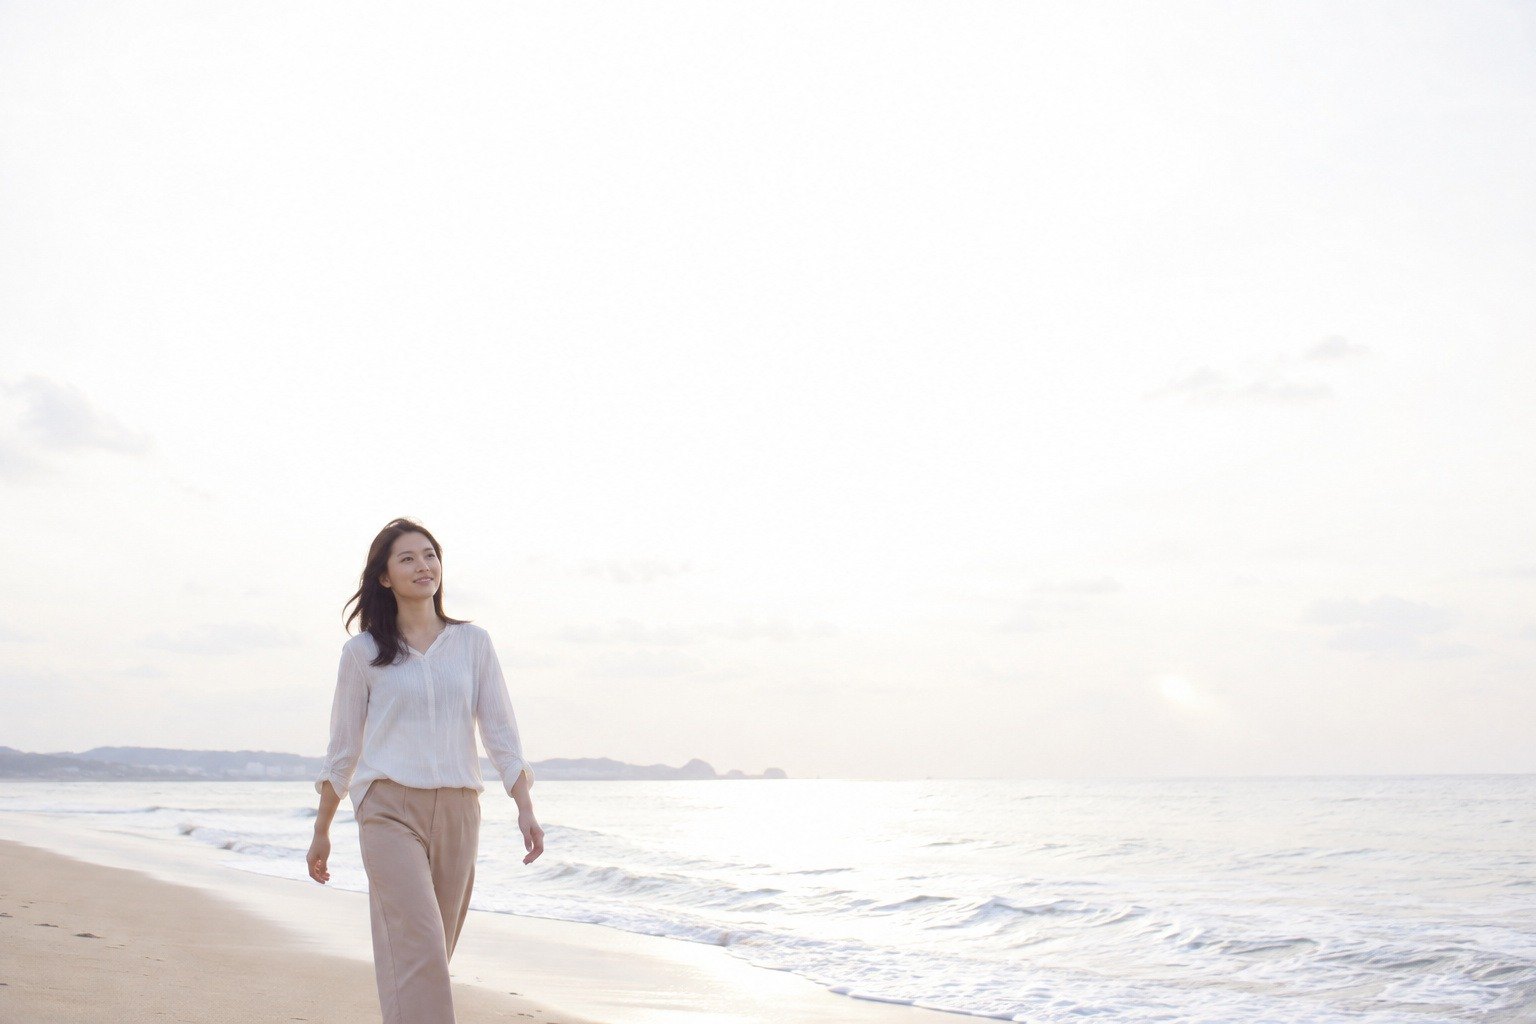
 BeforeAfter
The texture of the clouds comes back in the sky that was blown out to white.
The people in the sample photos were generated by AI.
Good to know
If you set the overall brightness with Exposure first and then adjust the rest, you'll go back and forth less. Clicking Auto first and refining from there is also a good approach.
The histogram at the top of the Edit tab shows the photo with the current adjustments applied. The left end is black and the right end is white. If the graph is piled high against one end, that end is crushed or blown out.
You can see at a glance which sliders you've adjusted.
Areas completely blown out to white in the original turn gray when you lower Highlights.
Blacks is applied before presets, LUTs and curves. If blacks look gray because of a preset, bring them down with the Deep Blacks panel right below.
Auto in the top bar doesn't add to the current values; it analyzes the original and sets the 6 values anew. If you click Auto after adjusting by hand, your manual values change (one Ctrl+Z reverts it).
If a preset includes light values, they're replaced with those values (→ Presets).
- Changes made during one drag of a slider are grouped into one undo step. Press Ctrl+Z after releasing the mouse to go back to before the drag.
Frequently asked questions
What's the difference between Exposure and Shadows?
Exposure brightens the whole photo by the same ratio. Shadows brightens only the dark parts, leaving a bright sky or the view through a window almost unchanged.
What's the difference between Highlights and Whites?
Highlights adjusts a broad range of bright areas (the whole sky, a whole white garment); Whites adjusts only the brightest end (sparkles, the very whitest parts).
I can't enter the exposure value I want.
Exposure goes in steps of 0.05. If you enter 0.33, it becomes 0.35.
I raised Contrast and the colors got stronger too.
When the difference between light and dark increases, colors also look a little stronger. If they're too strong, lower Saturation or Vibrance in Color a little.
I want to apply these values to other photos as they are.
Click Copy edits, then on another photo click Paste and choose "Light". The Light group includes the 6 values in this panel together with the DEEP BLACKS panel and the TONE CURVE (→ Editor overview).